
A couple of Christmases ago I purchased six black 11x14
frames (with white mats for 8x10 pictures) to hang six black and white Christmas
images I had.
Before I printed the pictures I added text to each of them so when they
were hung they read 1. Have 2.
Yourself 3. A 4. Merry
5. Little 6. Christmas.
When I hung them up again this year they lacked “pop” so I
changed them up and this is what I ended up with.

Subway Word Art is super trendy right now and if you’ve
never done it, then you don’t know how easy-peasy it is. You Seriously Made That posted an awesome tutorial that
shows, even the most computer illiterate, how to create subway word art using
picnik.
The Christmas Tree in my family room is decorated in a Mad
Hatter meets Tim Burton’s Willy Wonka motif and I wanted my word art to match
which is why I used lime green, purple, pink, blue, white and black as my
colors. I know these are not colors you
typically think of when you think of Christmas, but if they appeal to you, please
feel free to print off mine and use them in your own home.


When I framed the word art pictures I still thought they lacked “pop”
so I decided to jazz up the mats in the frames by covering them with the same
wrapping paper I used to wrap the presents that were under the tree.

What You Will Need
6 - 11x14 frames
6 - 11x14 mats with 8x10 holes
Wrapping paper
Pencil
Scissors
Tape

This is the absolute easiest thing you can do to add a
little pizazz to your frames and pictures.
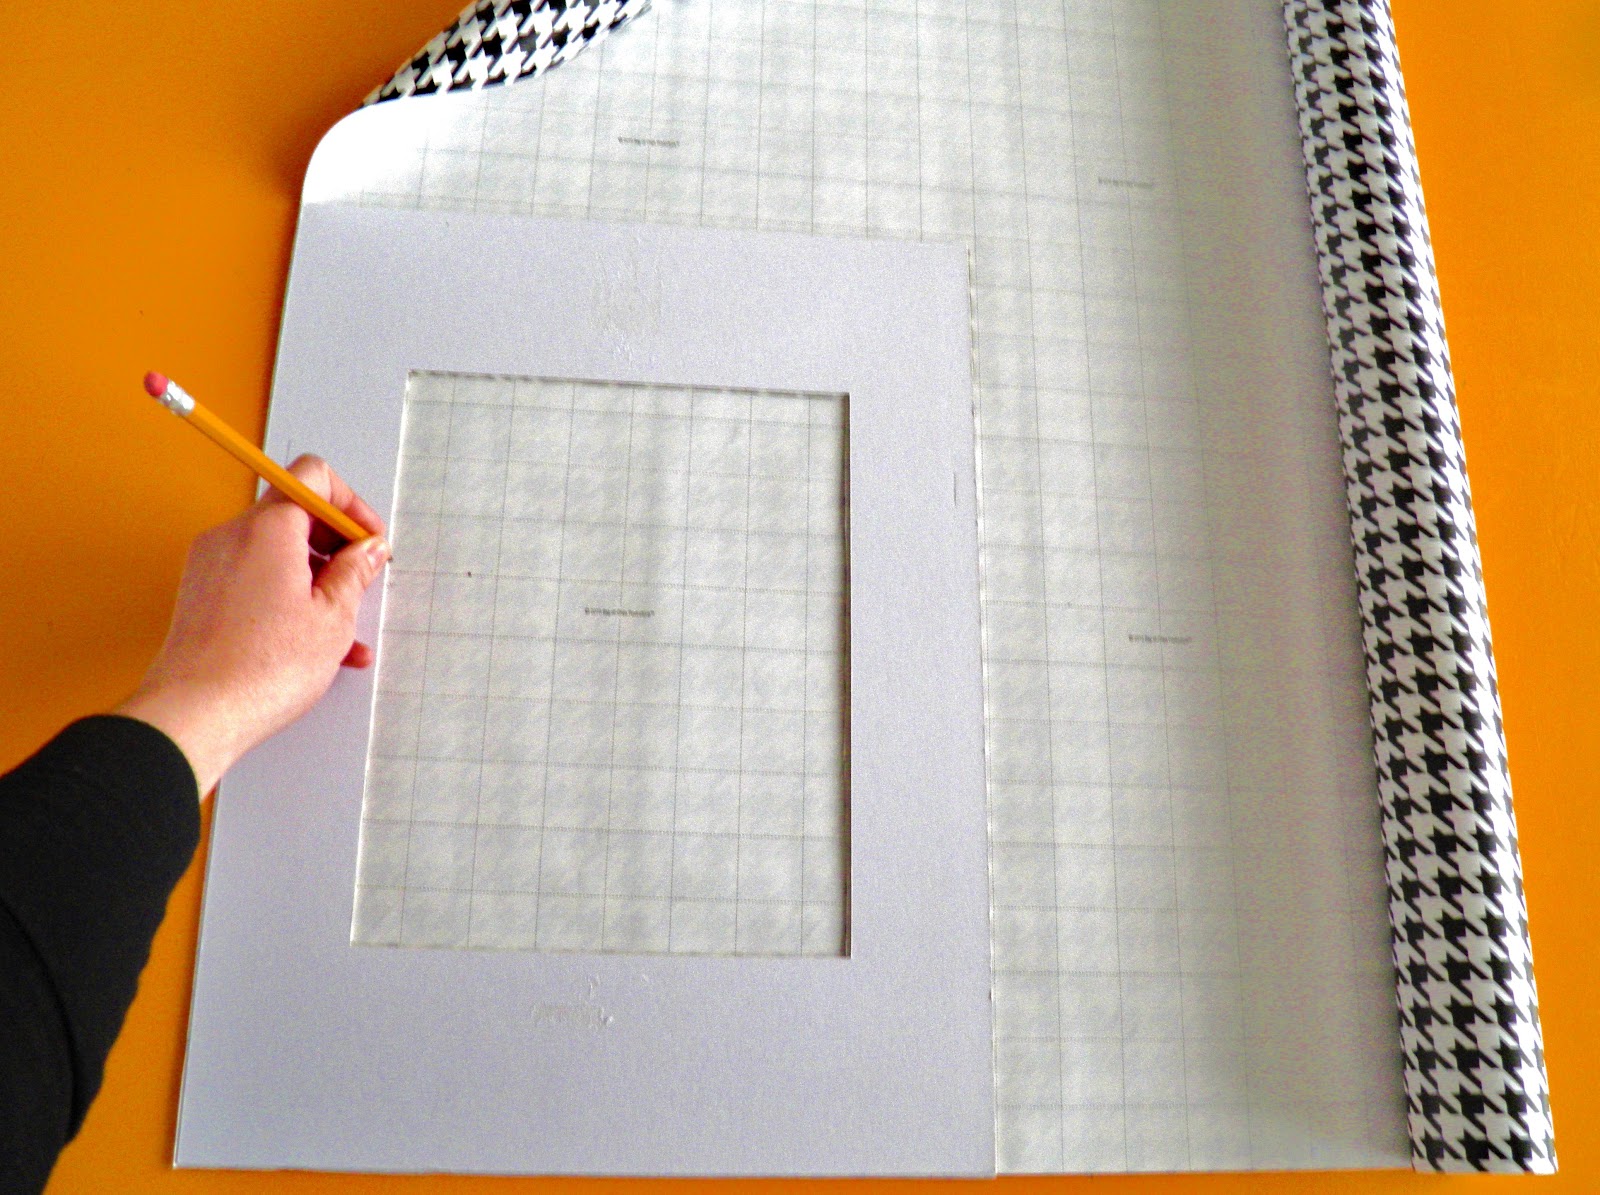
First, you take the mat out of the frame and line it up on the back side
of your wrapping paper. Next, trace a
line on the paper around the outside and inside of the mat.
Using a pair of scissors cut the outside lines on the paper
first so you end up with a solid rectangle.
Then, slightly fold the middle of the rectangle and make a small cut in
the center. Now you have a small hole to
work from so you can cut out the center of the rectangle.

To adhere the paper to the mat I simply looped pieces of
scotch tape and attached one piece to each of the corners of the mat and then placed
the paper on top. I did it this way
because is not as much of commitment as gluing the paper to the mat would
be. I change things up a lot and I
wanted to preserve the mats as best I could.

Finally, you place the mat back in the frame, insert your
picture and voila…you’re done!

Now you just have to find the perfect place to display your
art.

No comments:
Post a Comment